Pidgin Website
Creating the User:
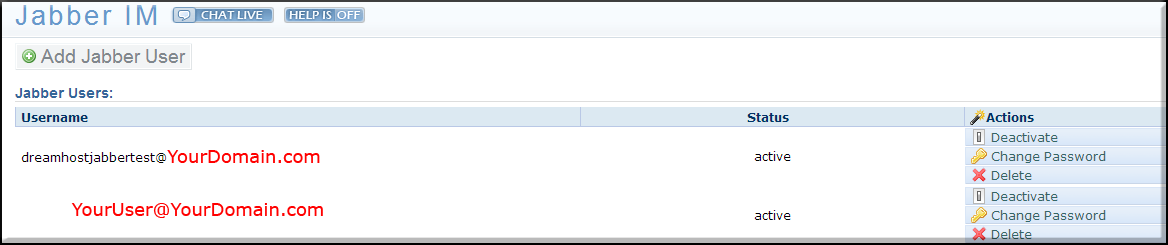
Once logged into your Panel , go to the Jabber IM page
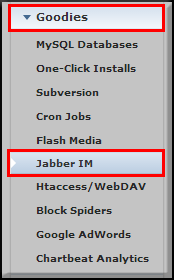
find it under Goodies -> Jabber IM
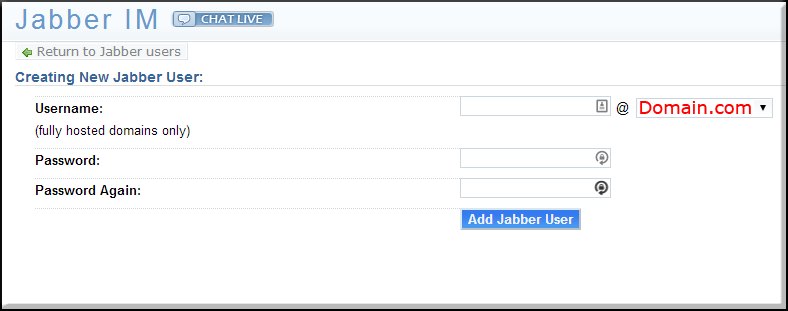
Create your new user

On the next page you will have your options
Then the users will be Pending Activation while they configure

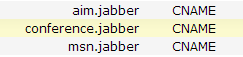
Now you will have new DNS for the domain and it will need to propagate like all dns. Please note all/any DNS changes take 4-48 hours to fully propagate.
You can see when the users are active
Once your dns is propagated and your users are active, you can setup the account in your Pidgin chat client
Setting Up the Client:
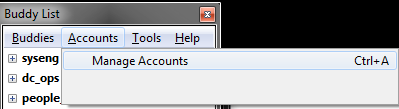
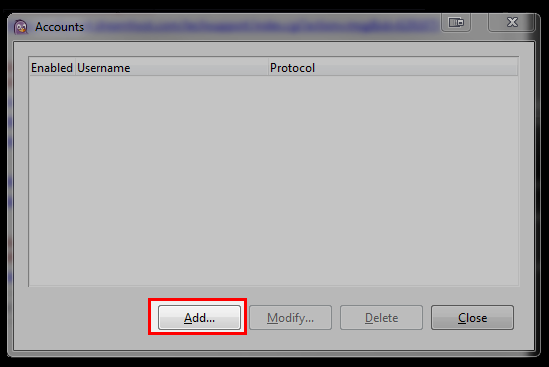
Go to Accounts -> Manage Accounts
Set Protocol to: XMPP
User: Your user name (without the domain)
Domain: Your domain
Then Password: Your password
Click Remember Password
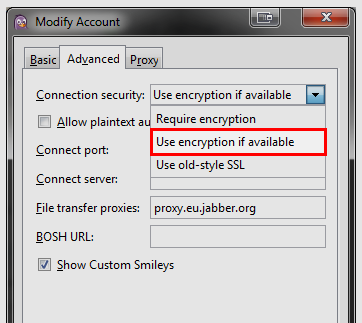
Almost done, Finally go to Advanced and Change the “Connection Security” to “Use encryption if available” (do not skip this step!)
Example Setup for Dreamhostjabbertest@YourDomain.com